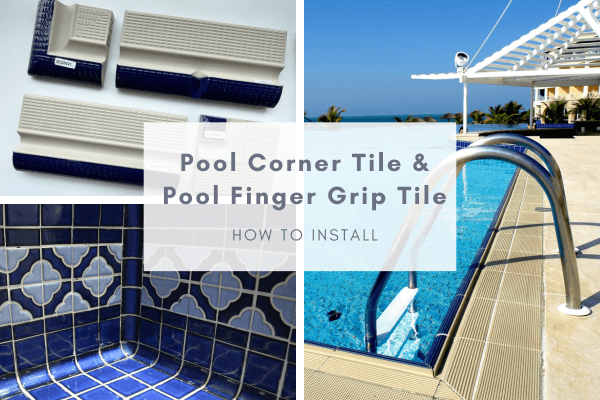
Pool tiles play a crucial role in maximizing the functionality, safety, and visual aesthetics of swimming pools, especially pool corner tiles and pool finger grip tiles. These specialized tiles offer not only durability but also exceptional resistance to water and chemicals typically encountered in pool environments. By incorporating pool corner tiles and finger grip tiles, pool owners can enjoy a well-rounded pool experience that combines practicality with long-lasting beauty. Continue reading to learn about the pool corner tiles and pool finger grip tiles as well as how to install them...
Pool corner tiles are specialized tiles designed to be installed at the corners of swimming pools. These tiles are typically triangular or wedge-shaped to fit snugly into the corners, providing a finished and aesthetically pleasing look. They are often made from durable materials such as ceramic, porcelain, or glass, which are resistant to water, chemicals, and elements. Pool corner tiles not only enhance the visual appeal of the pool but also serve as a protective barrier, preventing water from seeping into the corners and potentially causing damage.
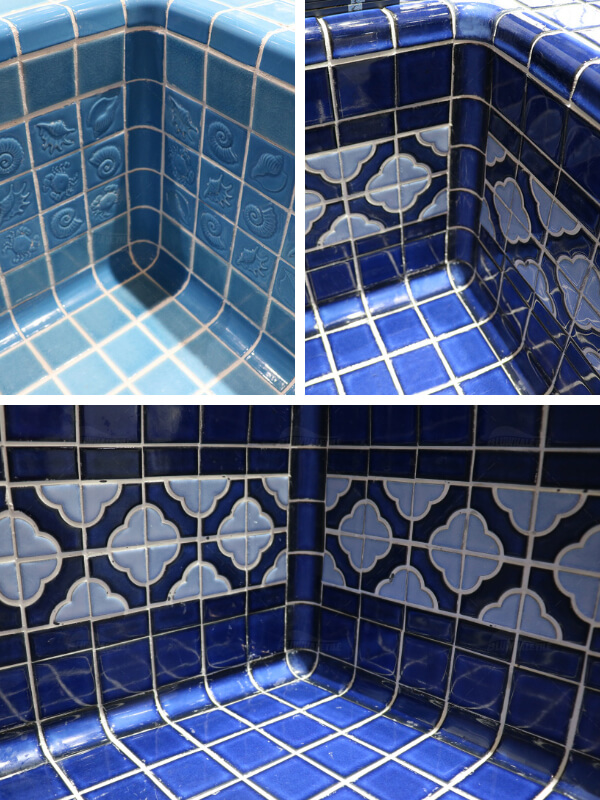
Featured Product: Pool Corner Tile Collection
Pool finger grip tiles, also known as bullnose tiles, are tiles specifically designed for pool edges and steps. These tiles feature a rounded edge on one or more sides, providing a comfortable and secure grip for swimmers when entering or exiting the pool. The rounded edge eliminates sharp corners or edges, reducing the risk of injury. Pool finger grip tiles are often made from slip-resistant materials, such as textured porcelain or natural stone, to enhance safety by providing traction, especially when the tiles are wet.
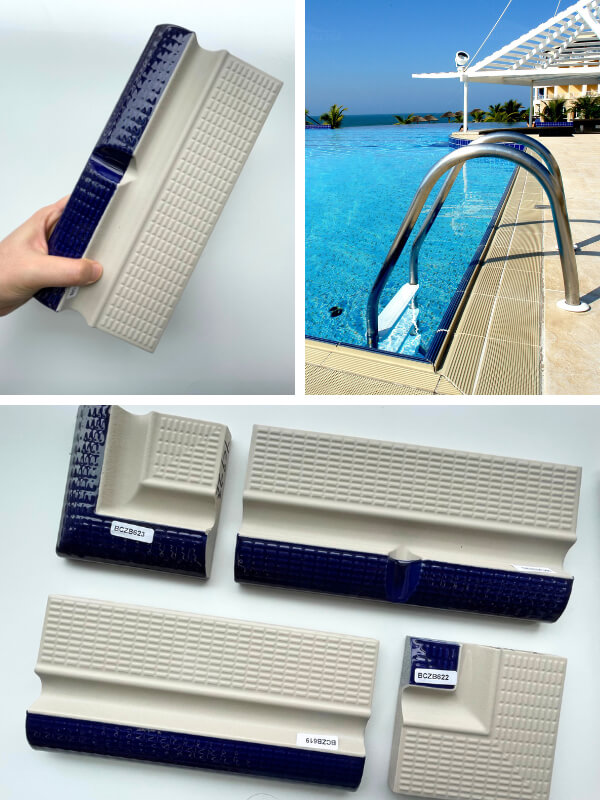
Featured Product: Pool Handle Finger Grip Tile Collection
Installing pool corner tiles and pool finger grip tiles requires careful preparation and proper execution to ensure a secure and visually appealing finish. Here's a general guide to help you with the installation process:
Materials you will need:
1. Pool corner tiles and pool finger grip tiles
2. Tile adhesive suitable for outdoor and pool use
3. Notched trowel
4. Tile spacers
5. Grout
6. Grout float
7. Tile sealer (optional)
8. Sponge or damp cloth
9. Rubber mallet
10. Tile cutter or wet saw (if necessary)
11. Measuring tape
12. Level
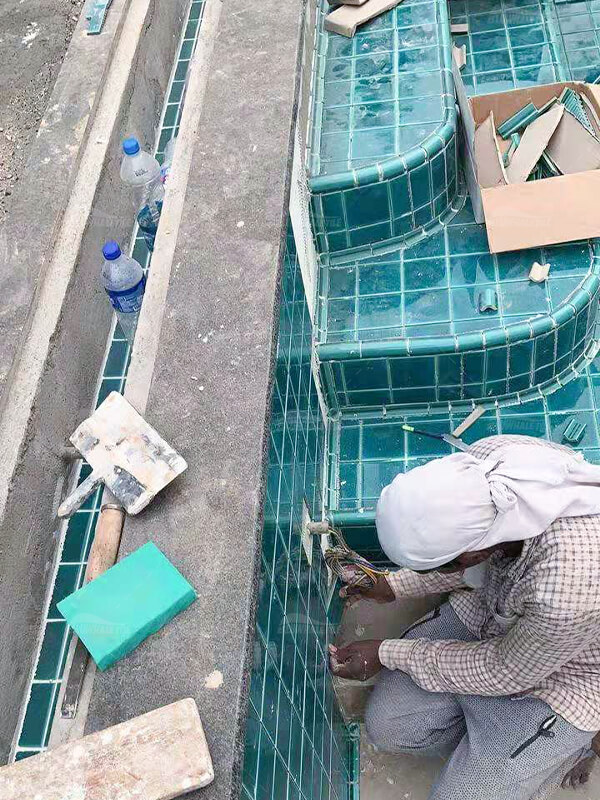
Installation Steps:
#1 Prepare the surface
Start by ensuring that the pool surface is thoroughly cleaned, dry, and free from any debris. Remove any loose particles or dirt from the pool corners or edges. If there are any cracks or irregularities, repair them using appropriate materials or methods.
#2 Measure and plan
Measure the pool corners and edges where you intend to install the tiles. Take accurate measurements and plan the layout of the tiles accordingly. Consider any necessary cuts for a precise fit. This planning will help you determine the number of tiles you'll need.
#3 Apply adhesive
Use a notched trowel to apply a thin, even layer of tile adhesive to a small section of the pool corner or edge. Holding the trowel at a 45-degree angle, spread the adhesive onto the surface in even ridges. Work in small sections to prevent the adhesive from drying out before you can install the tiles.
#4 Install the tiles
Carefully press the pool corner tiles or pool finger grip tiles firmly into the adhesive, ensuring they align properly. Use tile spacers to maintain consistent spacing between the tiles. Place the spacers at the corners or edges to achieve the desired gap. Use a level to ensure the tiles are straight and even. If necessary, gently tap the tiles with a rubber mallet to ensure they adhere securely to the adhesive.
#5 Cut tiles (if necessary)
If you encounter areas where the tiles need to be cut to fit, use a tile cutter or wet saw to make the necessary cuts. Measure and mark the tiles accurately before cutting them. Use the appropriate cutting tool to achieve precise and clean cuts. Ensure that the cut edges align properly with the adjacent tiles and fit securely in place.
#6 Continue installation
Repeat steps 3-5, working in small sections, until all the pool corner tiles and finger grip tiles are installed. Apply adhesive, install the tiles, and make any necessary cuts as you progress along the pool corners or edges.
#7 Allow adhesive to dry
Follow the manufacturer's instructions regarding the drying time for the adhesive. It is crucial to allow sufficient drying time to ensure a strong bond between the tiles and the pool surface. Avoid any foot traffic or disturbances during this drying period.
#8 Grouting
Once the adhesive has completely dried, remove the tile spacers. Prepare the grout according to the manufacturer's instructions. Using a grout float, apply the grout to the tile joints, working at a diagonal angle to ensure proper coverage. Fill the joints completely, pressing the grout firmly into the gaps. Remove any excess grout from the tile surfaces using the edge of the grout float.
#9 Clean the tiles
After approximately 10-15 minutes, when the grout has been partially set, use a damp sponge or cloth to carefully wipe away excess grout from the tile surfaces. Rinse the sponge or cloth frequently to avoid smearing grout on the tiles. Take care not to remove grout from the joints while cleaning the tiles.
#10 Seal the tiles (optional)
If desired, apply a suitable tile sealer to protect the tiles from stains, water damage, and fading. Follow the manufacturer's instructions for application and drying time. Allow the sealer to dry completely before using the pool.
Remember to refer to the specific product manufacturer's instructions for detailed guidelines on installation and any special considerations. If you are uncertain about any step of the process or have specific requirements for your pool, it is recommended to consult with a professional manufacturer - Bluwhale Tile. Order free tile samples to see and touch right now!